

How to Create an Event during the week for you Labour and Costs helps
Using the 'newspaper' icon in the top banner, navigate to the rota page.
Select the week of the event using the small 'calendar' icon in the top left of the rota page, next to the dates of the week already selected. Clicking on the date of the event will select the week in which the date falls.
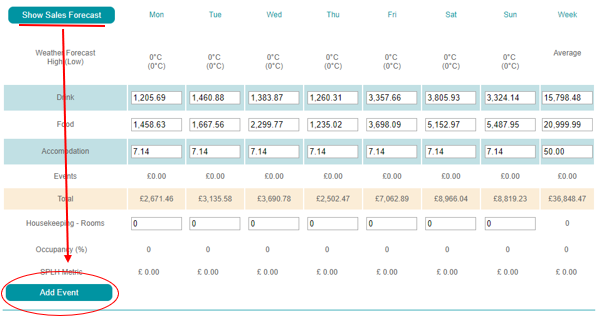
Click the 'Show Forecast/Actual' button at the top of the rota page to reveal the forecasting section. Scroll down, the 'Add Event' button is found at the bottom of the forecasting section.
Clicking 'Add Event' will bring up a window in which you can enter the event details.
These will include the name of the event, the start and end times, and the food and drink sales you expect the event to bring. It is possible to enter negative forecasted sales if you anticipate the event will reduce customer (for example a road closure in the area).
Note that the start and end times of an event should include the time needed to set up before, and to clear down after the event itself.
It is also important to be aware that the expected variation in sales planned for in the creation of an event, must not also be accounted for in your forecast. This practice would double up your sales prediction.
Clicking 'Save' will close the pop-up window and create additional demand for labour on the rota graph. In addition, your event will be shown when you hover your mouse over the standard line at the times allocated for the event.
Comments
0 comments
Article is closed for comments.